Background
Montego Bay is a resort located adjacent to the beach and famous Wildwood boardwalk in Wildwood NJ. It is a family owned and operated business that has been around for over 50 years. The resort has a pool, hot tub, and a small beach area. The rooms are clean and comfortable, and the staff is friendly and helpful. The staff at Montego Bay reached out to DTSU to help them upgrade their network infrastructure to support the growing number of guests and devices that were connecting to the network. The resort was experiencing slow internet speeds and frequent disconnections, which was causing frustration for both guests and staff. DTSU worked with the resort to design and implement a new network infrastructure that would provide reliable and fast internet access for all guests.
Project Overview
The project involved the installation of a new Unifi network infrastructure that included access points, switches, and a security gateway. The goal was to provide reliable and fast internet access for all guests, while also ensuring that the network was secure and easy to manage. The project was completed in several phases, including site surveys, equipment installation, and configuration. The project was completed on time and within budget, and the resort staff were very pleased with the results. The new network infrastructure has provided reliable and fast internet access for all guests.
Site Survey
The first step in the project was to conduct a site survey to determine current network infrastructure as well as the best locations for the access points and switches. The site survey involved walking through the resort and taking measurements of the signal strength and coverage area of the existing network. The survey also included identifying any potential sources of interference, such as walls, furniture, and other electronic devices. Based on the results of the site survey, DTSU was able to design a new network infrastructure that would provide reliable and fast internet access for all guests. Some of the important factors that were considered during the site survey included:
- Signal Strength: The signal strength of the existing network was measured to determine the best locations for the new access points. This was done using a wireless site survey tool that measured the signal strength and coverage area of the existing network. There was not much signal strength in the rooms, so it was determined that either much of the existing network was not working or the access points were not placed in the best locations.
- Interference: The site survey identified potential sources of interference, such as walls, furniture, and other electronic devices. This information was used to determine the best locations for the new access points and switches.
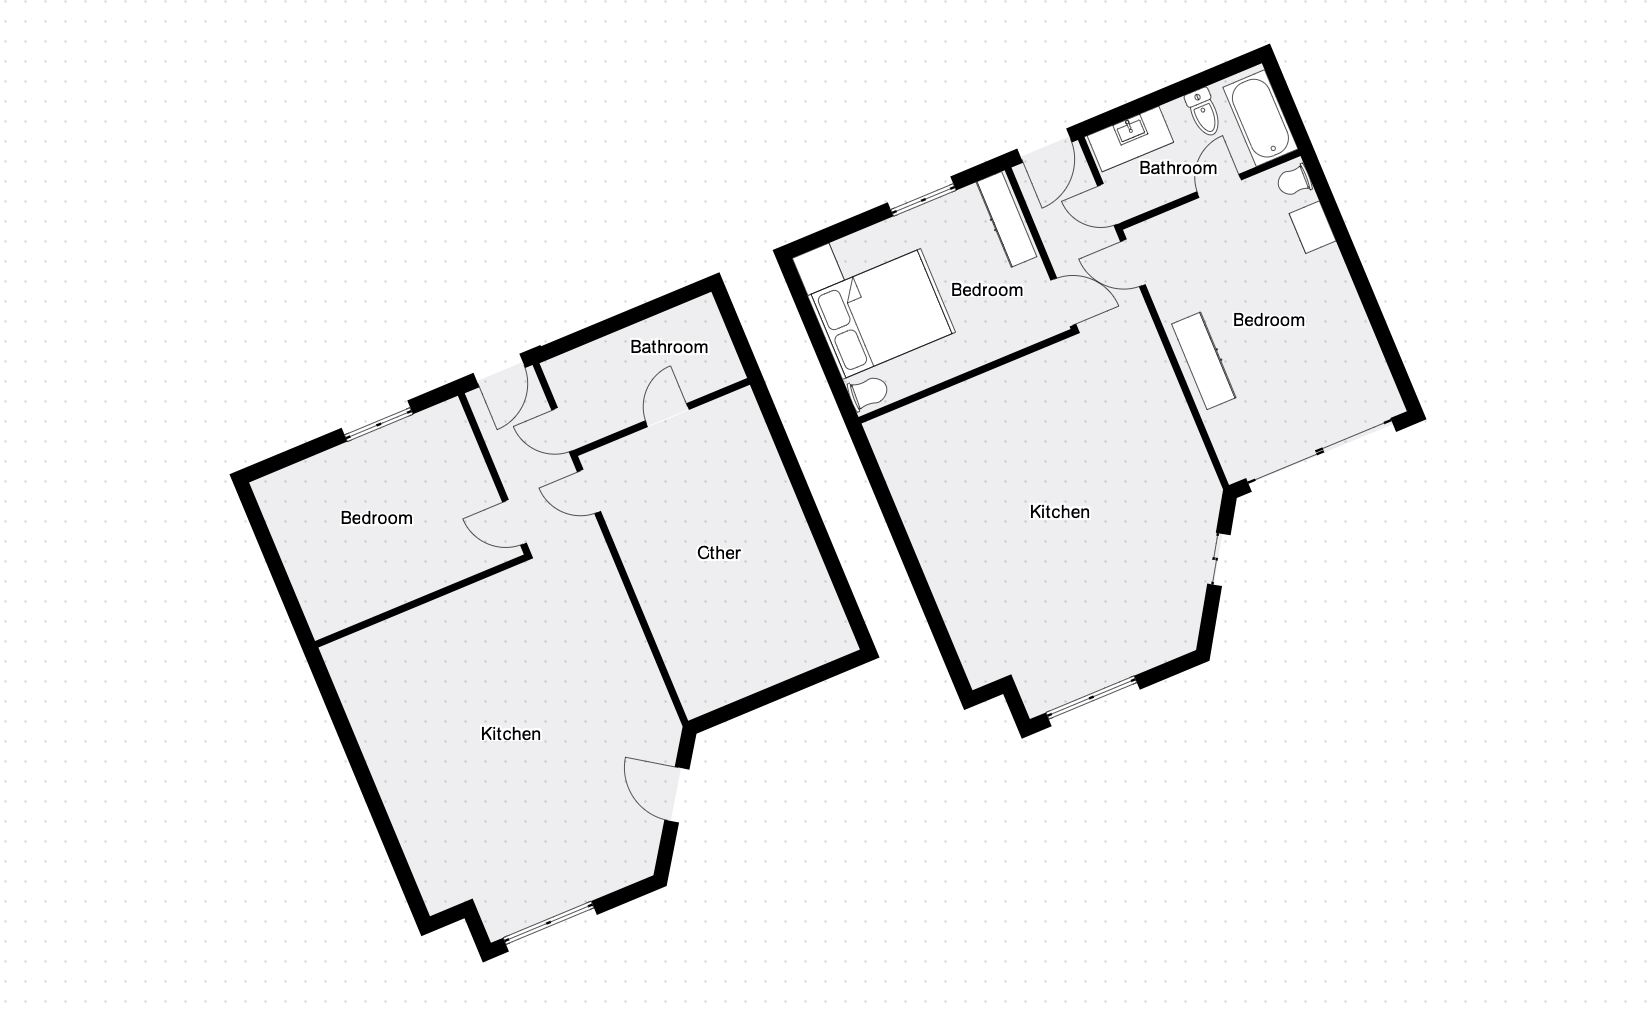
- Floor Plan Scans: The floor plan scans were done using state of the art Lidar technology that provided a detailed map of the hotels rooms and common areas. Using that map we were able to utilize the Unifi Design Center to determine the best locations for the new access points and switches.
- Guest Density: The site survey took into account the expected number of guests in each area of the resort. This information was used to determine the best locations for the new access points and ensure that the network could handle the expected number of devices and users. Places like the pools and rooms were given priority as they would have the most guests connecting to the network at any given time.
- New Construction: Ongoing construction at the restort as well as recent additions to the resort were taken into consideration. This information was used to determine the best locations for the new access points and switches, as well as to ensure that the network could handle any future expansion of the resort.
- Existing Infrastructure: The site survey also took into account the existing network infrastructure, including cameras, printers, computers, and an on prem server.
Below is an example of the Lidar map that was created during the site survey:
The survey took approximately 8 hours to complete, we had to inspect over 26,000 square feet of space. During the survey we identified lots of connections that were untraceable. We also had to discuss with management about the older wing of the resort that was not properly wired and had no network connections in the rooms. This would require an electrician to run new cables to the rooms. The resort was undergoing remodeling on the older wing, so it was decided that the network infrastructure would be installed at the same time as the remodeling.
Design Decisions
The design of the new network infrastructure was based on the results of the site survey and the specific needs of the resort. The design included the following components:
- Access Points: The new network infrastructure included several Unifi access points that were strategically placed throughout the resort to provide reliable and fast internet access for all guests. The access points were chosen based on their performance, range, and ability to handle multiple devices. There were multiple hurdles that needed to be overcome with the equipment selection. The first was that the rooms only had one network connection in the room on the wall. This meant that we needed to use access points that were wall mounted. The second hurdle was that the access points would need to be able to be self powered by PoE. Ultimately, we chose a mixture of the U7 Pro Wall and the U7 Pro Max access points.
- Switches: The new network infrastructure included several Unifi switches that were used to connect the access points and other devices to the network. The switches were chosen based on their performance, number of ports, and ability to handle multiple devices. The switches were also chosen based on their ability to power multiple PoE devices. The overall design included a mixture of USW-PRO-24-POE and USW-PRO-48-POE port switches in each floors maintenance room.
- Security Gateway: The new network infrastructure included a Unifi security gateway (UDM Pro Max) that was used to provide secure access to the network and protect against unauthorized access. The security gateway also provided features such as firewall protection, VPN support, and intrusion detection.
- ISP Connection: The new network infrastructure included a recently installed fiber connection that provided a reliable and dedicated internet connection for the resort.
- Network Backbone: The new network infrastructure included a 10 GB backbone that connected the access points, switches, and security gateway. The switches chosen were able to handle the 10 GB backbone due to the SFP+ ports that were available on the switches. We also used a Aggregate switch to ensure we could have redundant links between the switches and the security gateway. This provided a reliable and fast connection between the devices on the network.
- Management: The new network infrastructure would need to be easy to manage and monitor. Ubiquiti offers a cloud-based management platform that allows for easy management and monitoring of the network. This platform was used to manage the new network infrastructure and provide real-time monitoring of the network performance.
Here is an example of the network diagram that was created during the design phase:
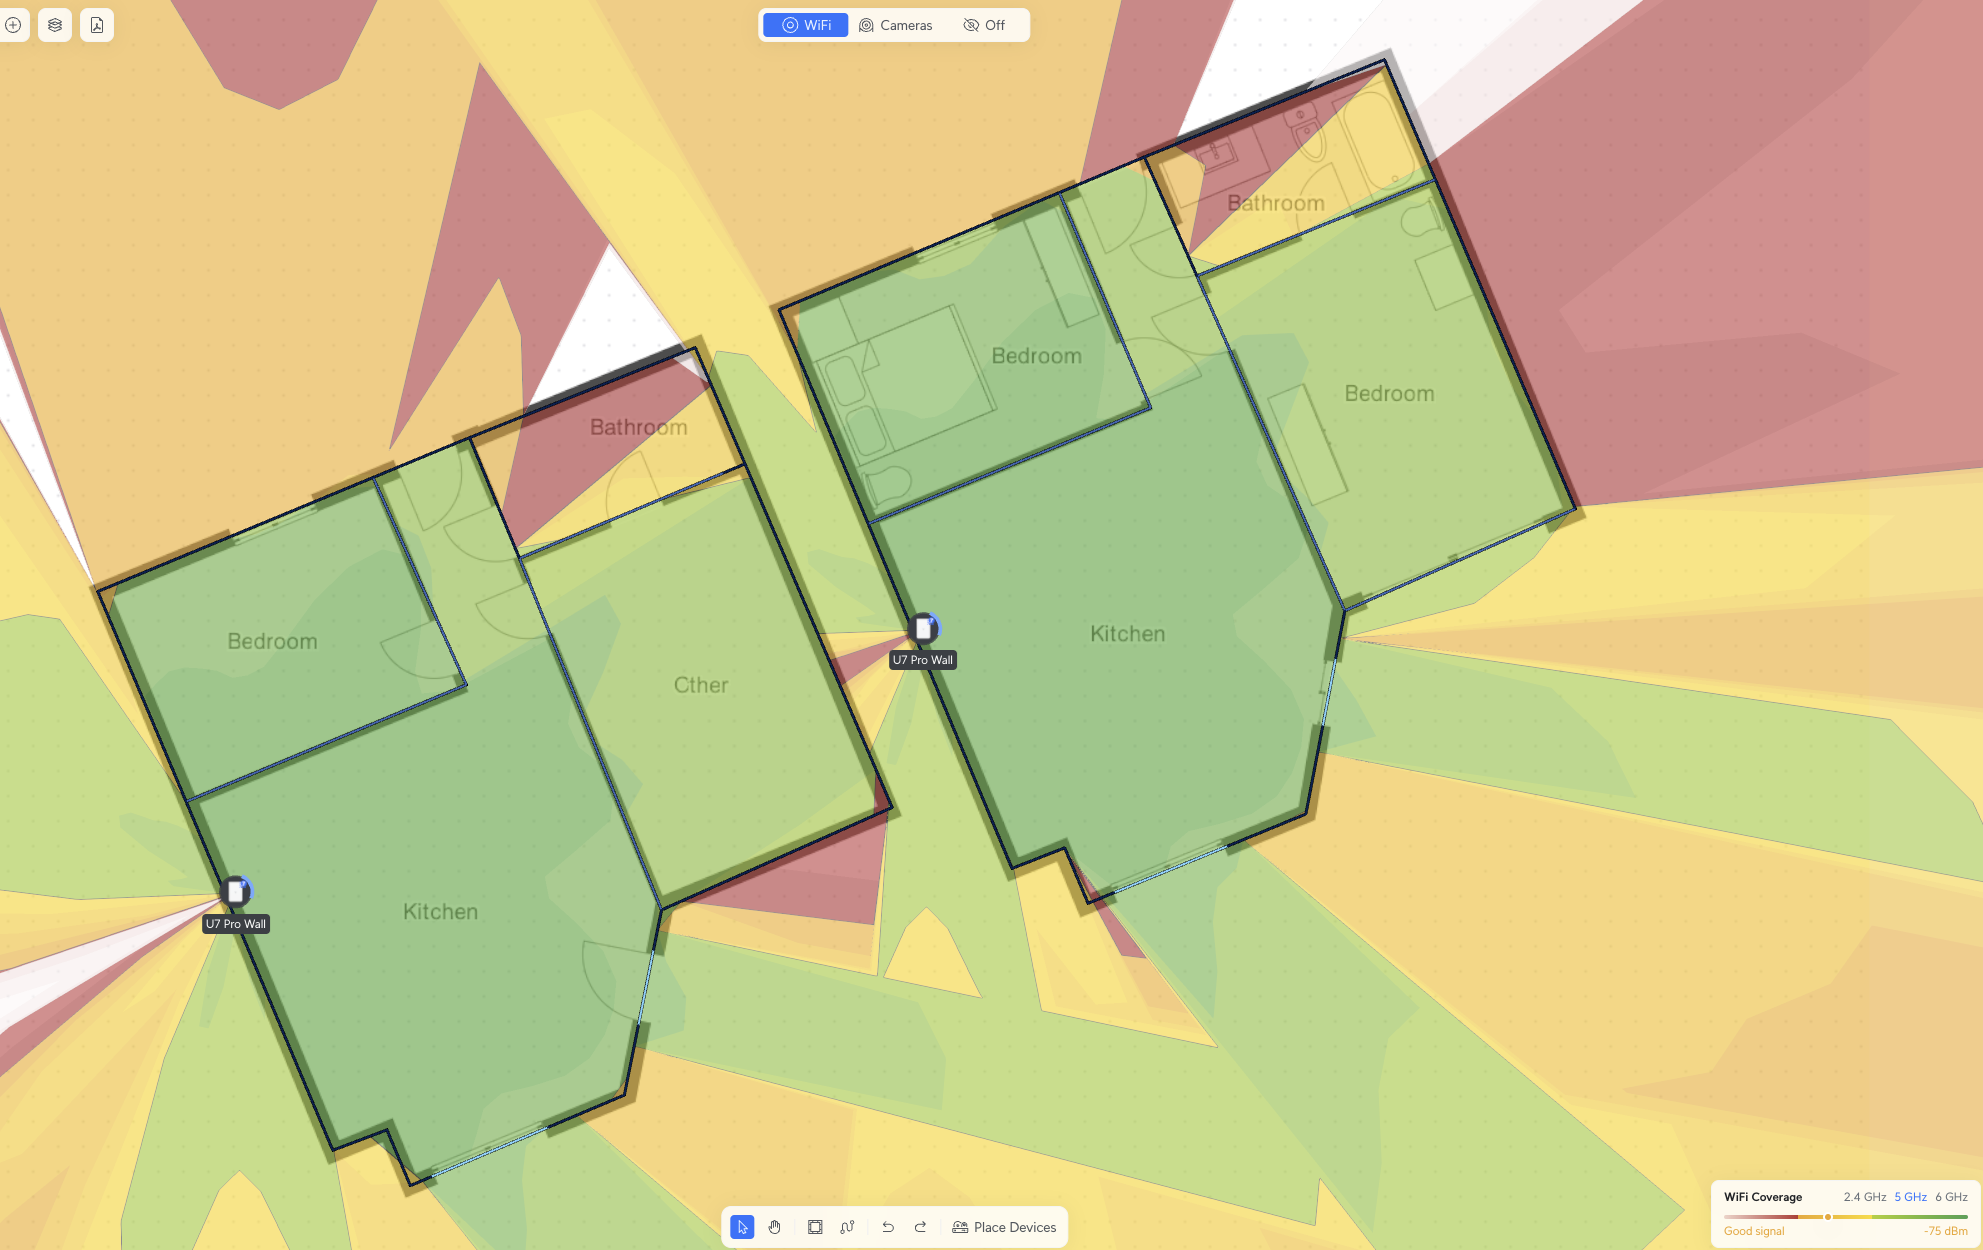
This example shows two rooms and the wifi coverage of the U7 Pro Wall access point.
After scoping out the project, quoting the equipment and labor, and getting approval from the resort management, we were able to begin the installation of the new network infrastructure. First we had to wait for the electrician to run the new cables to the rooms in the older wing of the resort.
Installation
The installation of the new network infrastructure was completed in several phases, including equipment installation, configuration, and testing. The installation was completed over a period of several weeks to minimize disruption to the guests and staff. The installation included the following steps:
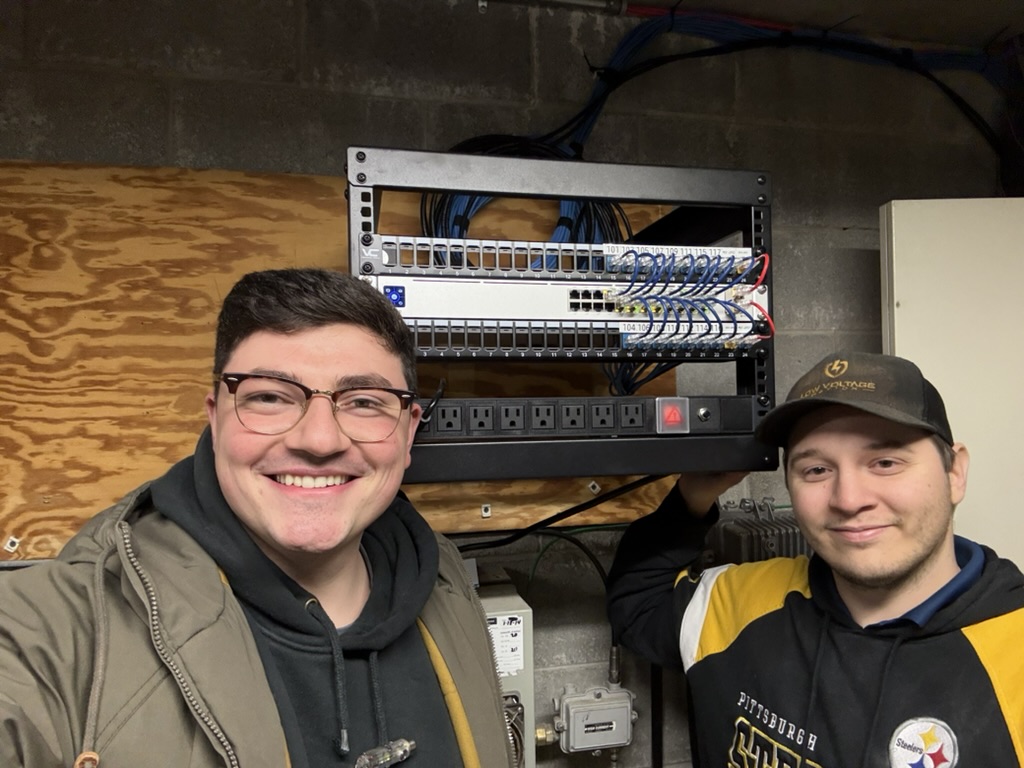
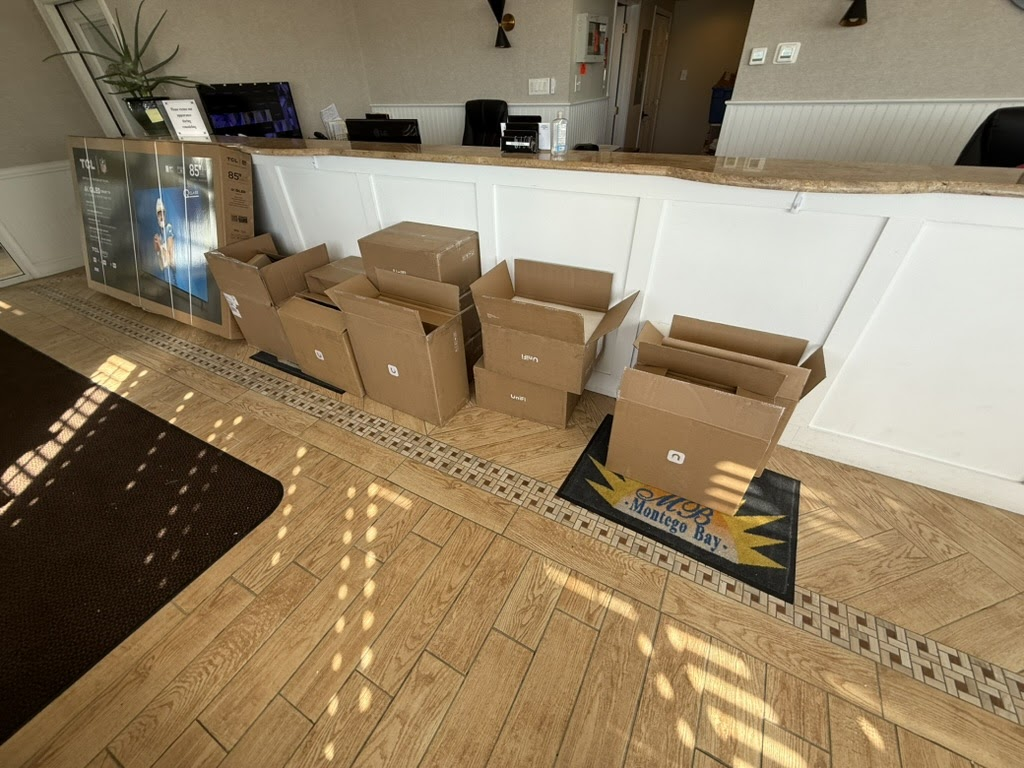
- Preparation: Before the installation began, the resort staff were notified of the upcoming work and any potential disruptions to the network. The equipment was ordered and delivered to the resort. Racks were assembled, Patch cables were sorted, Excel spreadsheets were created to track the installation, and the team was briefed on the installation process.
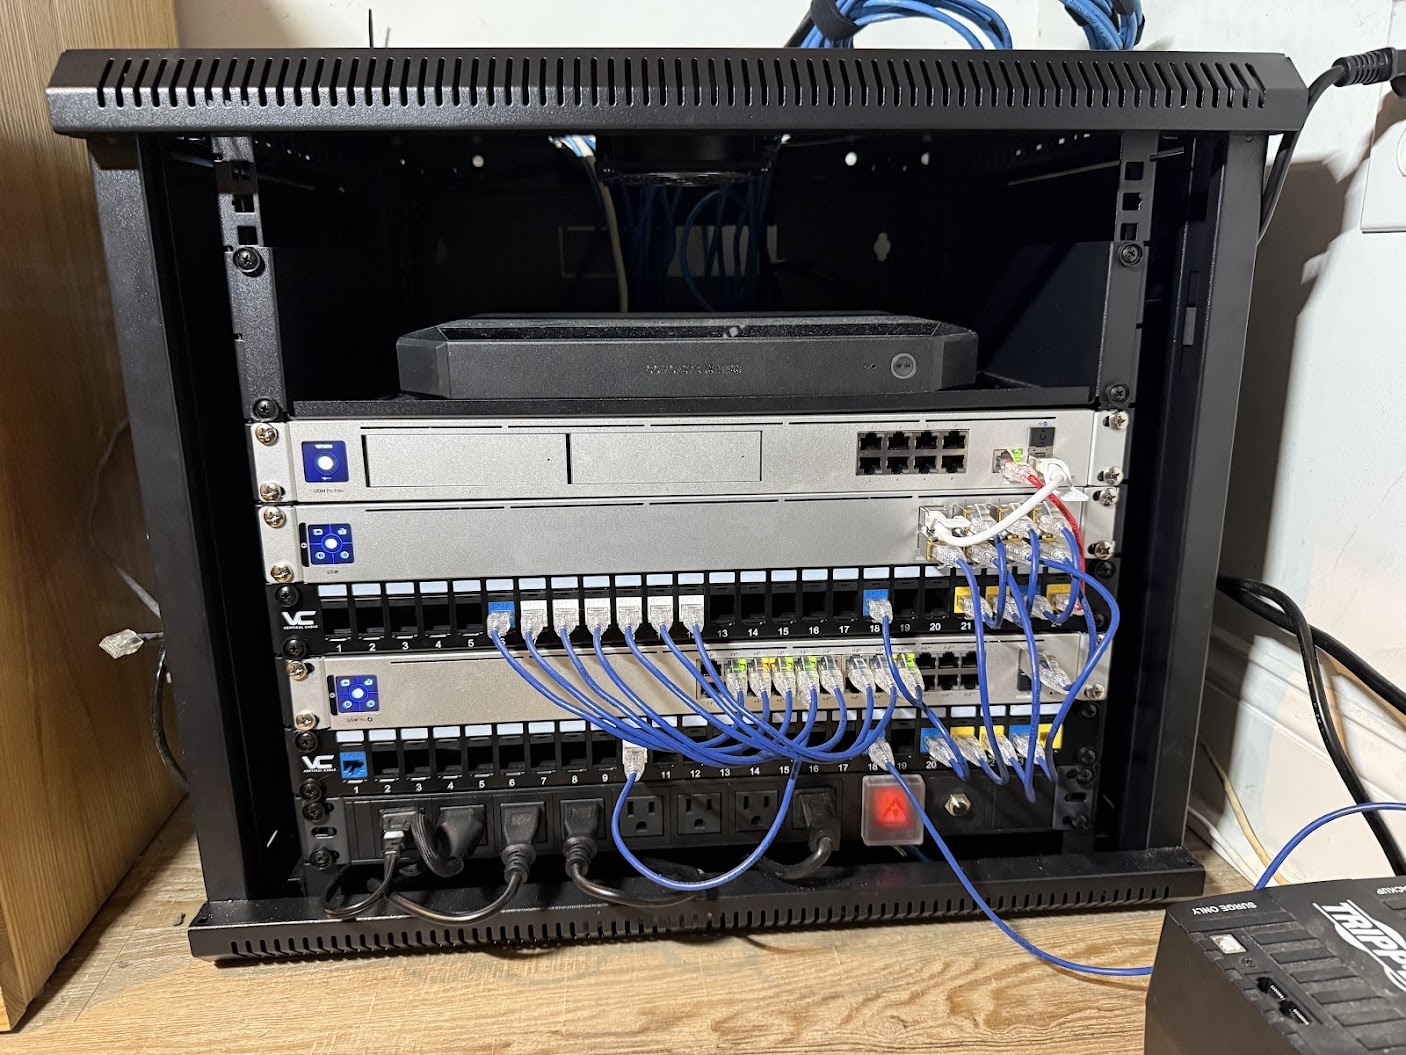
- Installation of Core Network: The first step in the installation was to install the core network components, including the security gateway and switches. The security gateway and switch was installed in the main lobby of the resort, and the existing equipment such as the cameras, printers, and on-prem server were connected to the new network. We also installed a U7 Pro Max access point in the lobby to provide coverage for the lobby area. The main priority was to ensure that the cutover to the new network would not disrupt the guests or staff. The installation of the core network took approximately 8 hours to complete.
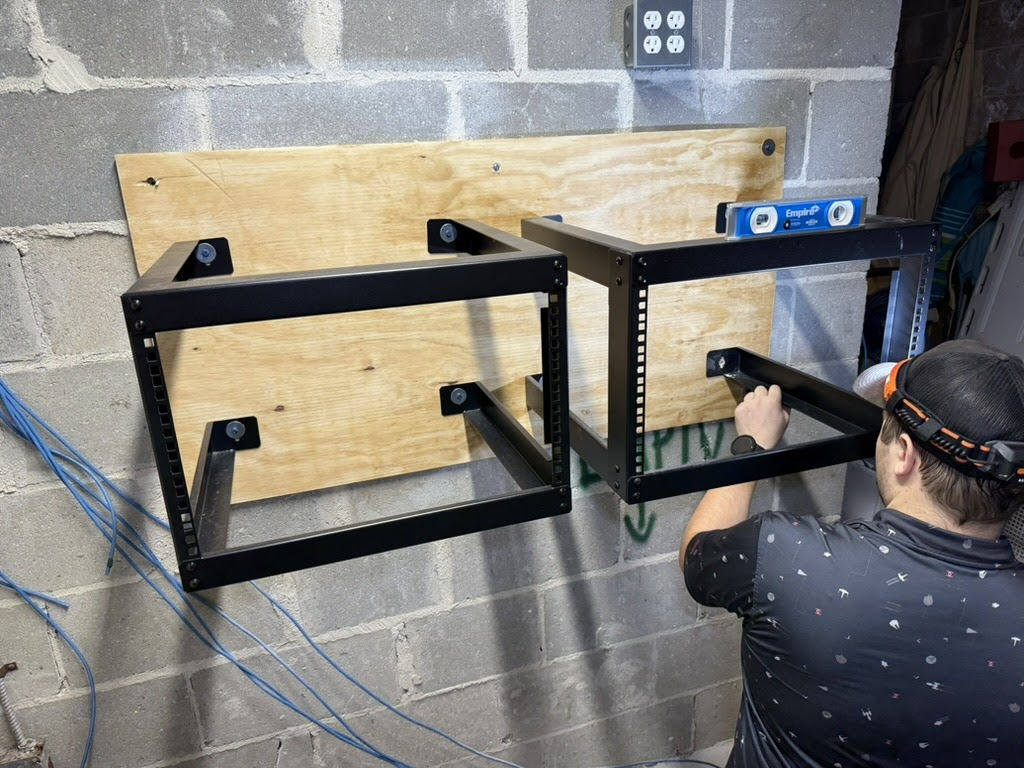
- Hardware Installation: The next step in the installation was to install the racks, patch panels, and PDU’s (Power Distribution Units) in the maintenance rooms on each floor. The racks were assembled and the patch panels were installed to provide a clean and organized way to connect the access points and switches to the network.
- Cable Tracing and Labeling: The next step in the installation was to trace and label the existing cables in the maintenance rooms. This was done to ensure that the new access points and switches could be connected to the correct cables. The cables were labeled with a unique identifier to make it easy to identify the cables during the installation process.
- Cable Management and Termination: The next step in the installation was to manage and terminate the cables in the maintenance rooms. The cables were terminated into the patch panels and RJ45 connectors were terminated on the room side of the cables.
- Network Equipment Installation: The next step in the installation was to install the network equipment in the maintenance rooms. The switches were installed in the racks and connected to the patch panels. The access points were installed in the rooms and connected to the switches using the cables that were terminated in the maintenance rooms. The access points were mounted on the walls using wall mounts that were provided by Ubiquiti. In total we install 86 access points, 14 switches, and 1 security gateway.
- Cable Certification: After the cables were terminated, they were tested and certified to ensure that they met the required standards for performance and reliability. This was done using a cable certification tool that measured the performance of the cables and ensured that they met the required standards.
- Configuration: After the hardware was installed, the next step was to configure the network devices. This included configuring the security gateway, switches, and access points. The configuration was done using the Unifi controller software, which allowed for easy management and monitoring of the network. The configuration included setting up the SSIDs, VLANs, and security settings for the network.
- Labeling and WiFi Scans: After the configuration was complete, the next step was to label the access points, switches, and patch panels. This was done to ensure that the devices could be easily identified and managed. WiFi scans were also done to ensure that the access points were providing the required coverage and performance.
Technical Challenges
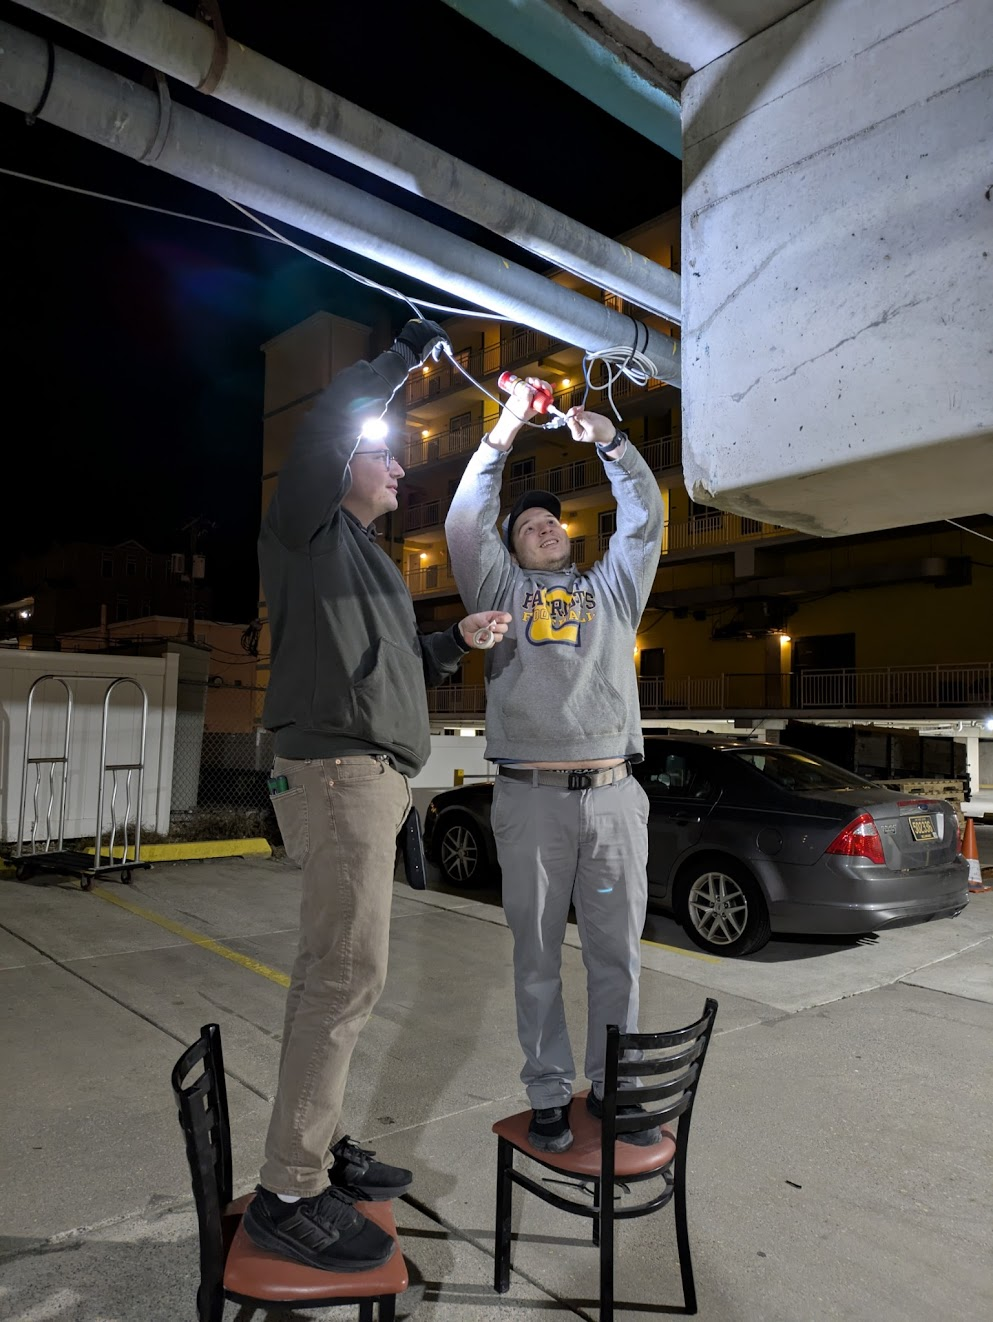
Cat5 “Backbone”: During the job we learned that the only connection between the old and new resort wings was a single cat5 cable that ran from the main lobby, outside, and into the older wing of the resort.
 The solution was to run two new cat6A cables (outdoor rated) for redundancy.
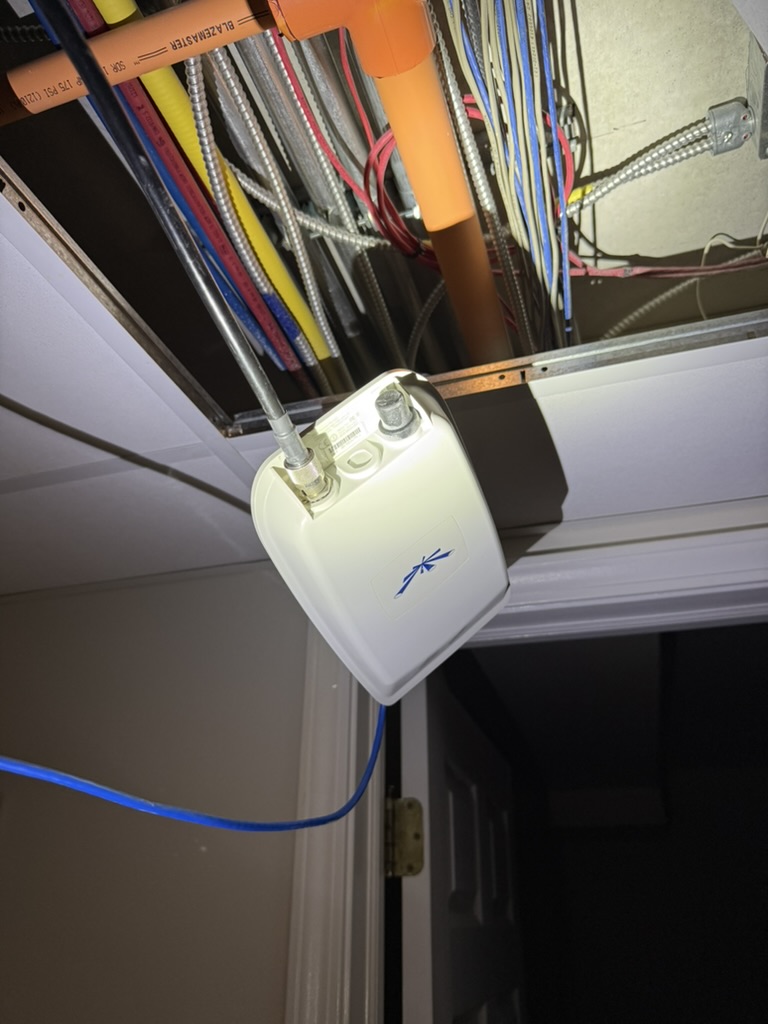
Ubiquiti before the “U”: Some of the existing infrastructure was found mid way through the project, which required additional labor to remove and redesign some of the network components. On the bright side, I got to see some of the original Ubiquiti NanoStation’s that was installed in the resort over 10 years ago. It was still working, but it was time for an upgrade.
Cut Cables: During the installation, it was discovered that we could not trace any of the cables for the same few rooms on each floor. It was not determined that the cables were cut until roughly 80% of the installation was complete. This rats nest of cables was found in one of the storage closets behind a bunch of old furniture and mattresses.
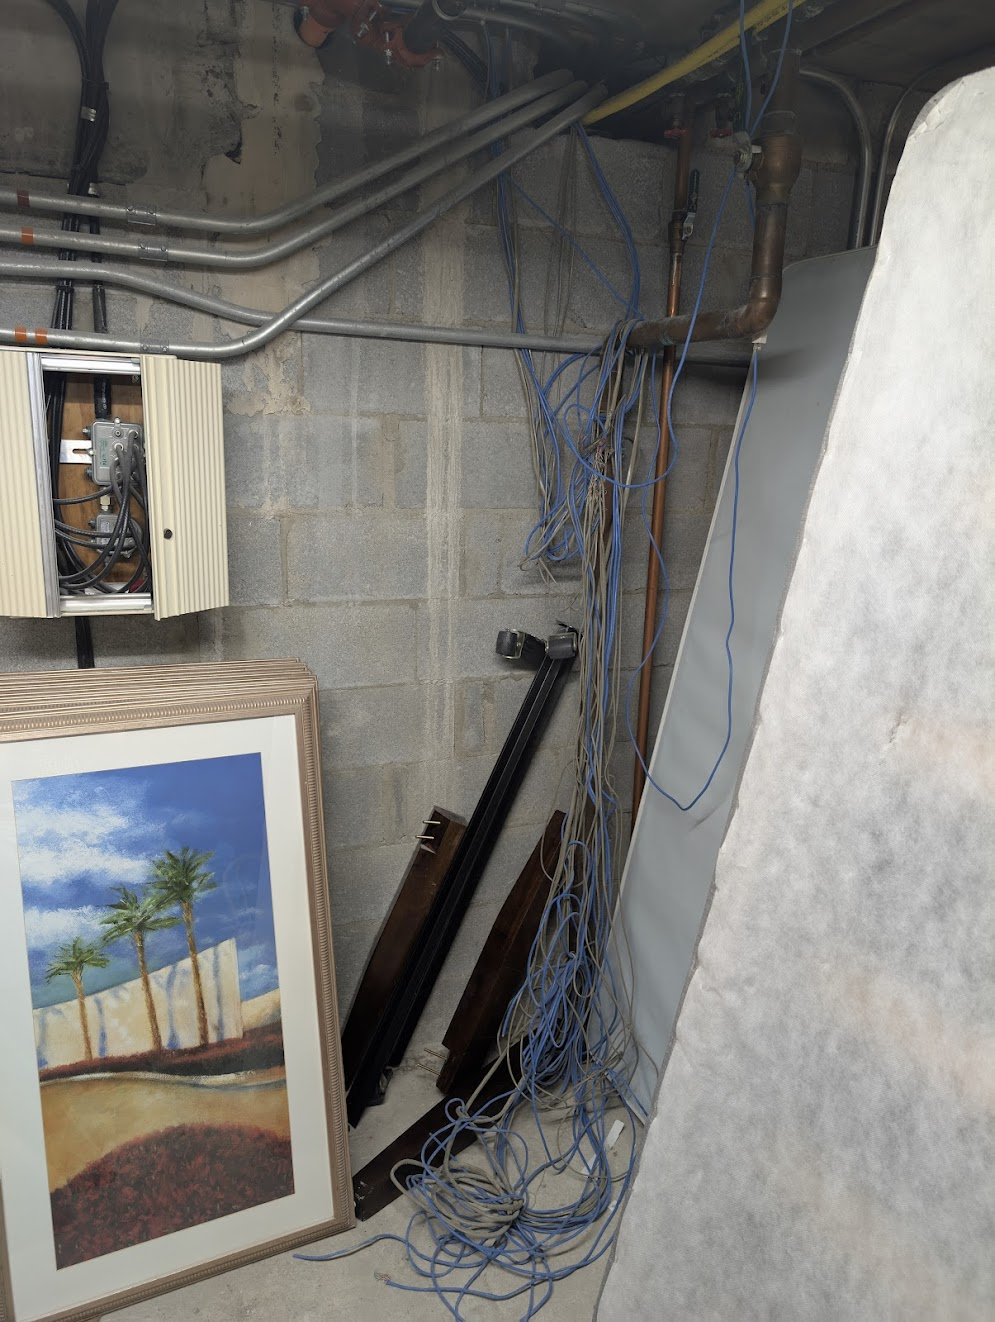 Obviously, this leads to some additional work, equipment, and labor costs. Situations like this are a great reminder of why soft skills and communication are so important in the field. Luckily, the resort staff were very understanding and worked with us to come up with a solution that would work for everyone.
Lessons Learned
The installation of the new network infrastructure at Montego Bay Resort was a complex project that required careful planning and execution. Some of the lessons learned and hurdles faced during the project included:
- Communication: Communication with the resort staff was critical to the success of the project. The staff were kept informed of the progress of the project and any potential disruptions to the network. This helped to minimize any disruptions to the guests and staff. This was also one of the larger jobs DTSU had taken on, so we had to recruit some additional help to complete the project on time. Having a clear plan of action and timeline helped to ensure that everyone was on the same page and that the project was completed on time. When challenges arose, we communicated often as soon as possible to ensure that everyone was aware of the situation and that we could come up with a solution that worked for everyone.
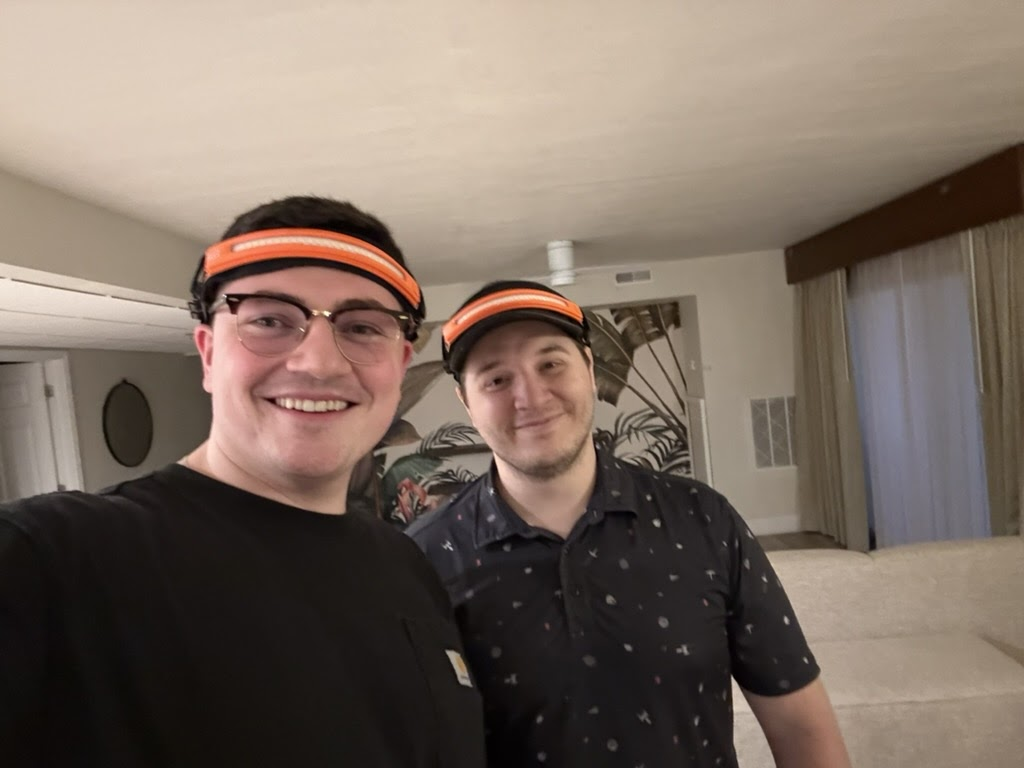
- You can never have too many tools: Having the right tools for the job is critical to the success of any project. During the installation, we used a variety of tools to complete the project, including cable certification tools, cable termination tools, cable tracing tools, and network management software. Even small things like forehead flashlights made a big difference in the installation process.
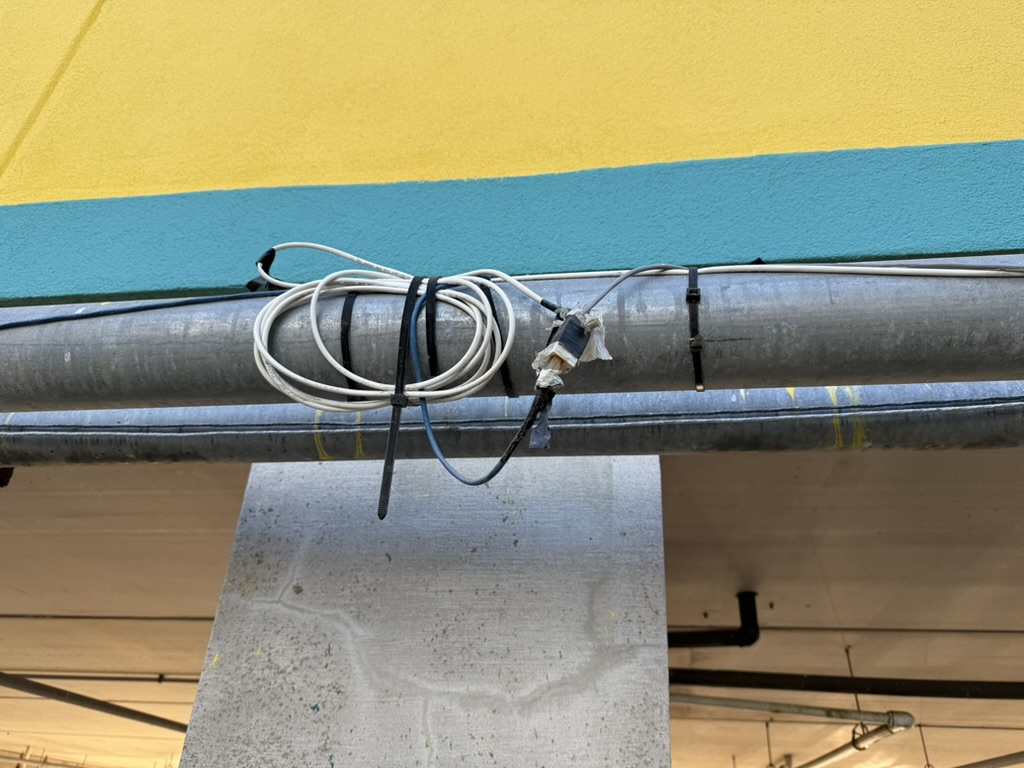
- Creative Problem Solving: When faced with unexpected challenges, it is important to be able to think creatively and come up with solutions that work temporarily if needed. For example, when we saw that rain was in the forecast, we had to come up with a solution to protect the exposed cable outside. We used a combination of plastic bags, duct tape, and dielectric greese to protect the cables from the rain. This was a temporary solution, but it worked until we could get the proper cable run and terminated.
Conclusion
The installation of the new network infrastructure at Montego Bay Resort was a success. The resort now has a reliable and fast network that can support the growing number of guests and devices. The project was completed on time and within budget, thanks to the hard work and dedication of the DTSU team and the cooperation of the resort staff. The lessons learned during the project will be valuable for future projects and will help to ensure that similar challenges are addressed more effectively.